¶ Overview
Routes allow users to define and manage specific paths based on selected geofences and units. This guide outlines how to create, configure, and optimize routes, including customizing checkpoints and managing routes within the system.
¶ Instructions
¶ 1. Accessing the Routes Section
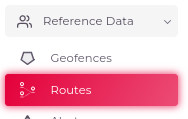
- Go to the left side menu on your screen and click on Reference Data.
- From the dropdown, select Routes to navigate to the Routes page.
¶ 2. Creating a New Route
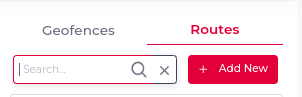
- On the Routes page, locate the Routes section.
- Click the Add New button to create a new route. (Note: You must have the necessary permissions to add a route.)
¶ 3. Configuring Route Details
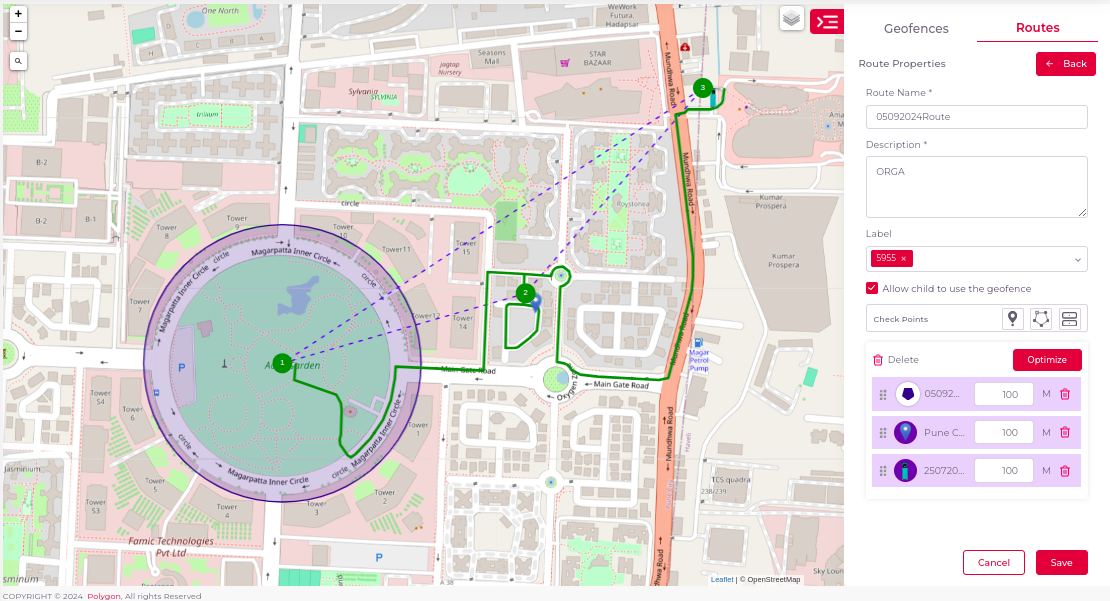
- Name: In the Name field, enter a name for your route. The name must be between 3 and 30 characters.
- Description: Provide a description of the route in the Description field.
- Label: Add or select a label for the route in the Label field.
- Allow Child Use: Check the Allow child to use the route box if you want to enable child accounts to use the route.
¶ 4. Setting Checkpoints
-
Checkpoint Options: Use the Checkpoint field to draw and manage checkpoints for your route. There are three checkpoint options:
- Marker: Pinpoint a specific location on the map.
- Polygon: Select multiple geofences and display them on the map. You can also search for geofences using the search input.
- Select Unit: Choose multiple units to display on the map. You can also search for units using the search input.
-
Optimizing the Route: Once the checkpoints are selected, use the Optimize button to automatically arrange them in the most efficient order.
-
Managing Checkpoints: Reorder checkpoints in the list, customize the radius in meters to receive alerts when a unit enters, or delete selected checkpoints. You can also use the Delete All button to remove all checkpoints at once.
¶ 5. Saving or Cancelling Changes
- Click the Save button to apply changes and create or update the route.
- Click Cancel to exit the route creation process and return to the routes section.
¶ Managing Routes
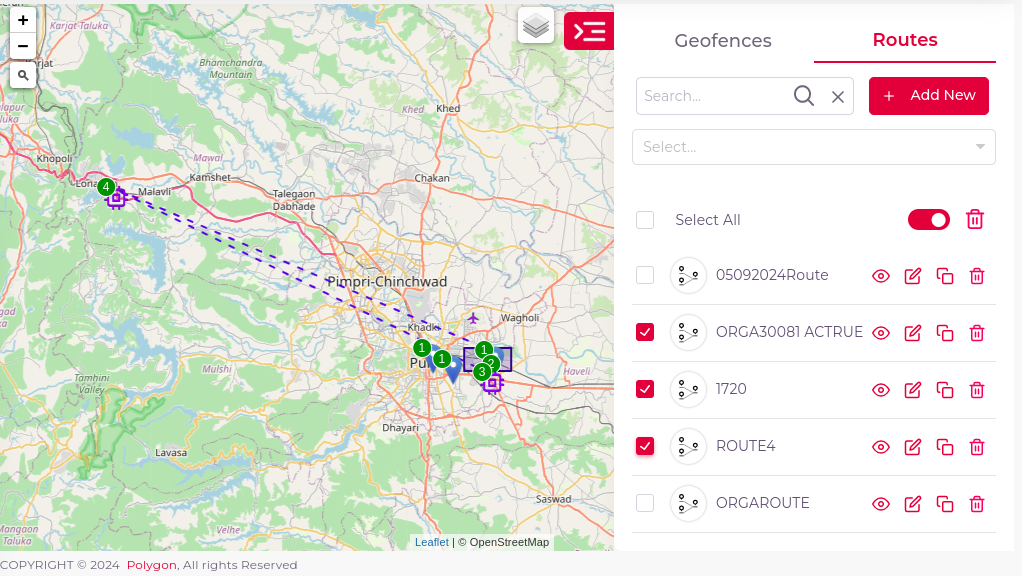
- Search: Use the search field to find specific routes.
- Filter by Account: Filter routes by account using the Account Select dropdown.

- Select All: Enable the Select All checkbox to select all routes in the list.
- Inherited Items: Toggle Inherited Items to show or hide parent routes.
- Bulk Delete: Use the Delete icon button to bulk delete selected routes. (Note: You must have delete permissions.)
- Show/Hide on Map: Toggle the checkbox in the list to show or hide routes on the map.
- View Details: Click the Eye icon to view the details of a specific route.
- Edit Route: Use the Edit icon button to modify an existing route. (Note: You must have edit permissions.)
- Copy Route: Click the Copy icon to duplicate an existing route.
- Delete Route: Use the Delete icon button to remove a specific route. (Note: You must have delete permissions.)
¶ Troubleshooting
- Permission Issues: If you cannot create, edit, or delete routes, ensure you have the necessary permissions. Contact your administrator if required.
- Verify that all required fields are filled out before saving.