Change a geofence when a site moves or grows, or clone it to make a similar one without redrawing.
¶ Before you start
- To edit you need Geofences > Edit. To clone you need Add. The Owner role has both.
- You can edit only geofences of your own account. A geofence shared from a parent account offers View and Clone only.
¶ Change the shape
- In the side menu, select Reference Data > Geofences.
- In the geofence's row, open the row menu and choose Edit.
The map zooms to the shape and the Edit geofence form opens. The shape is ready to edit. - Drag a corner to move it, or drag the midpoint of a side to add a corner. For a circle, drag the handle on its edge, or enter a value in Radius.
The form updates Area and Perimeter. - Select Save geofence.
The message "Geofence updated successfully" appears and the list opens.
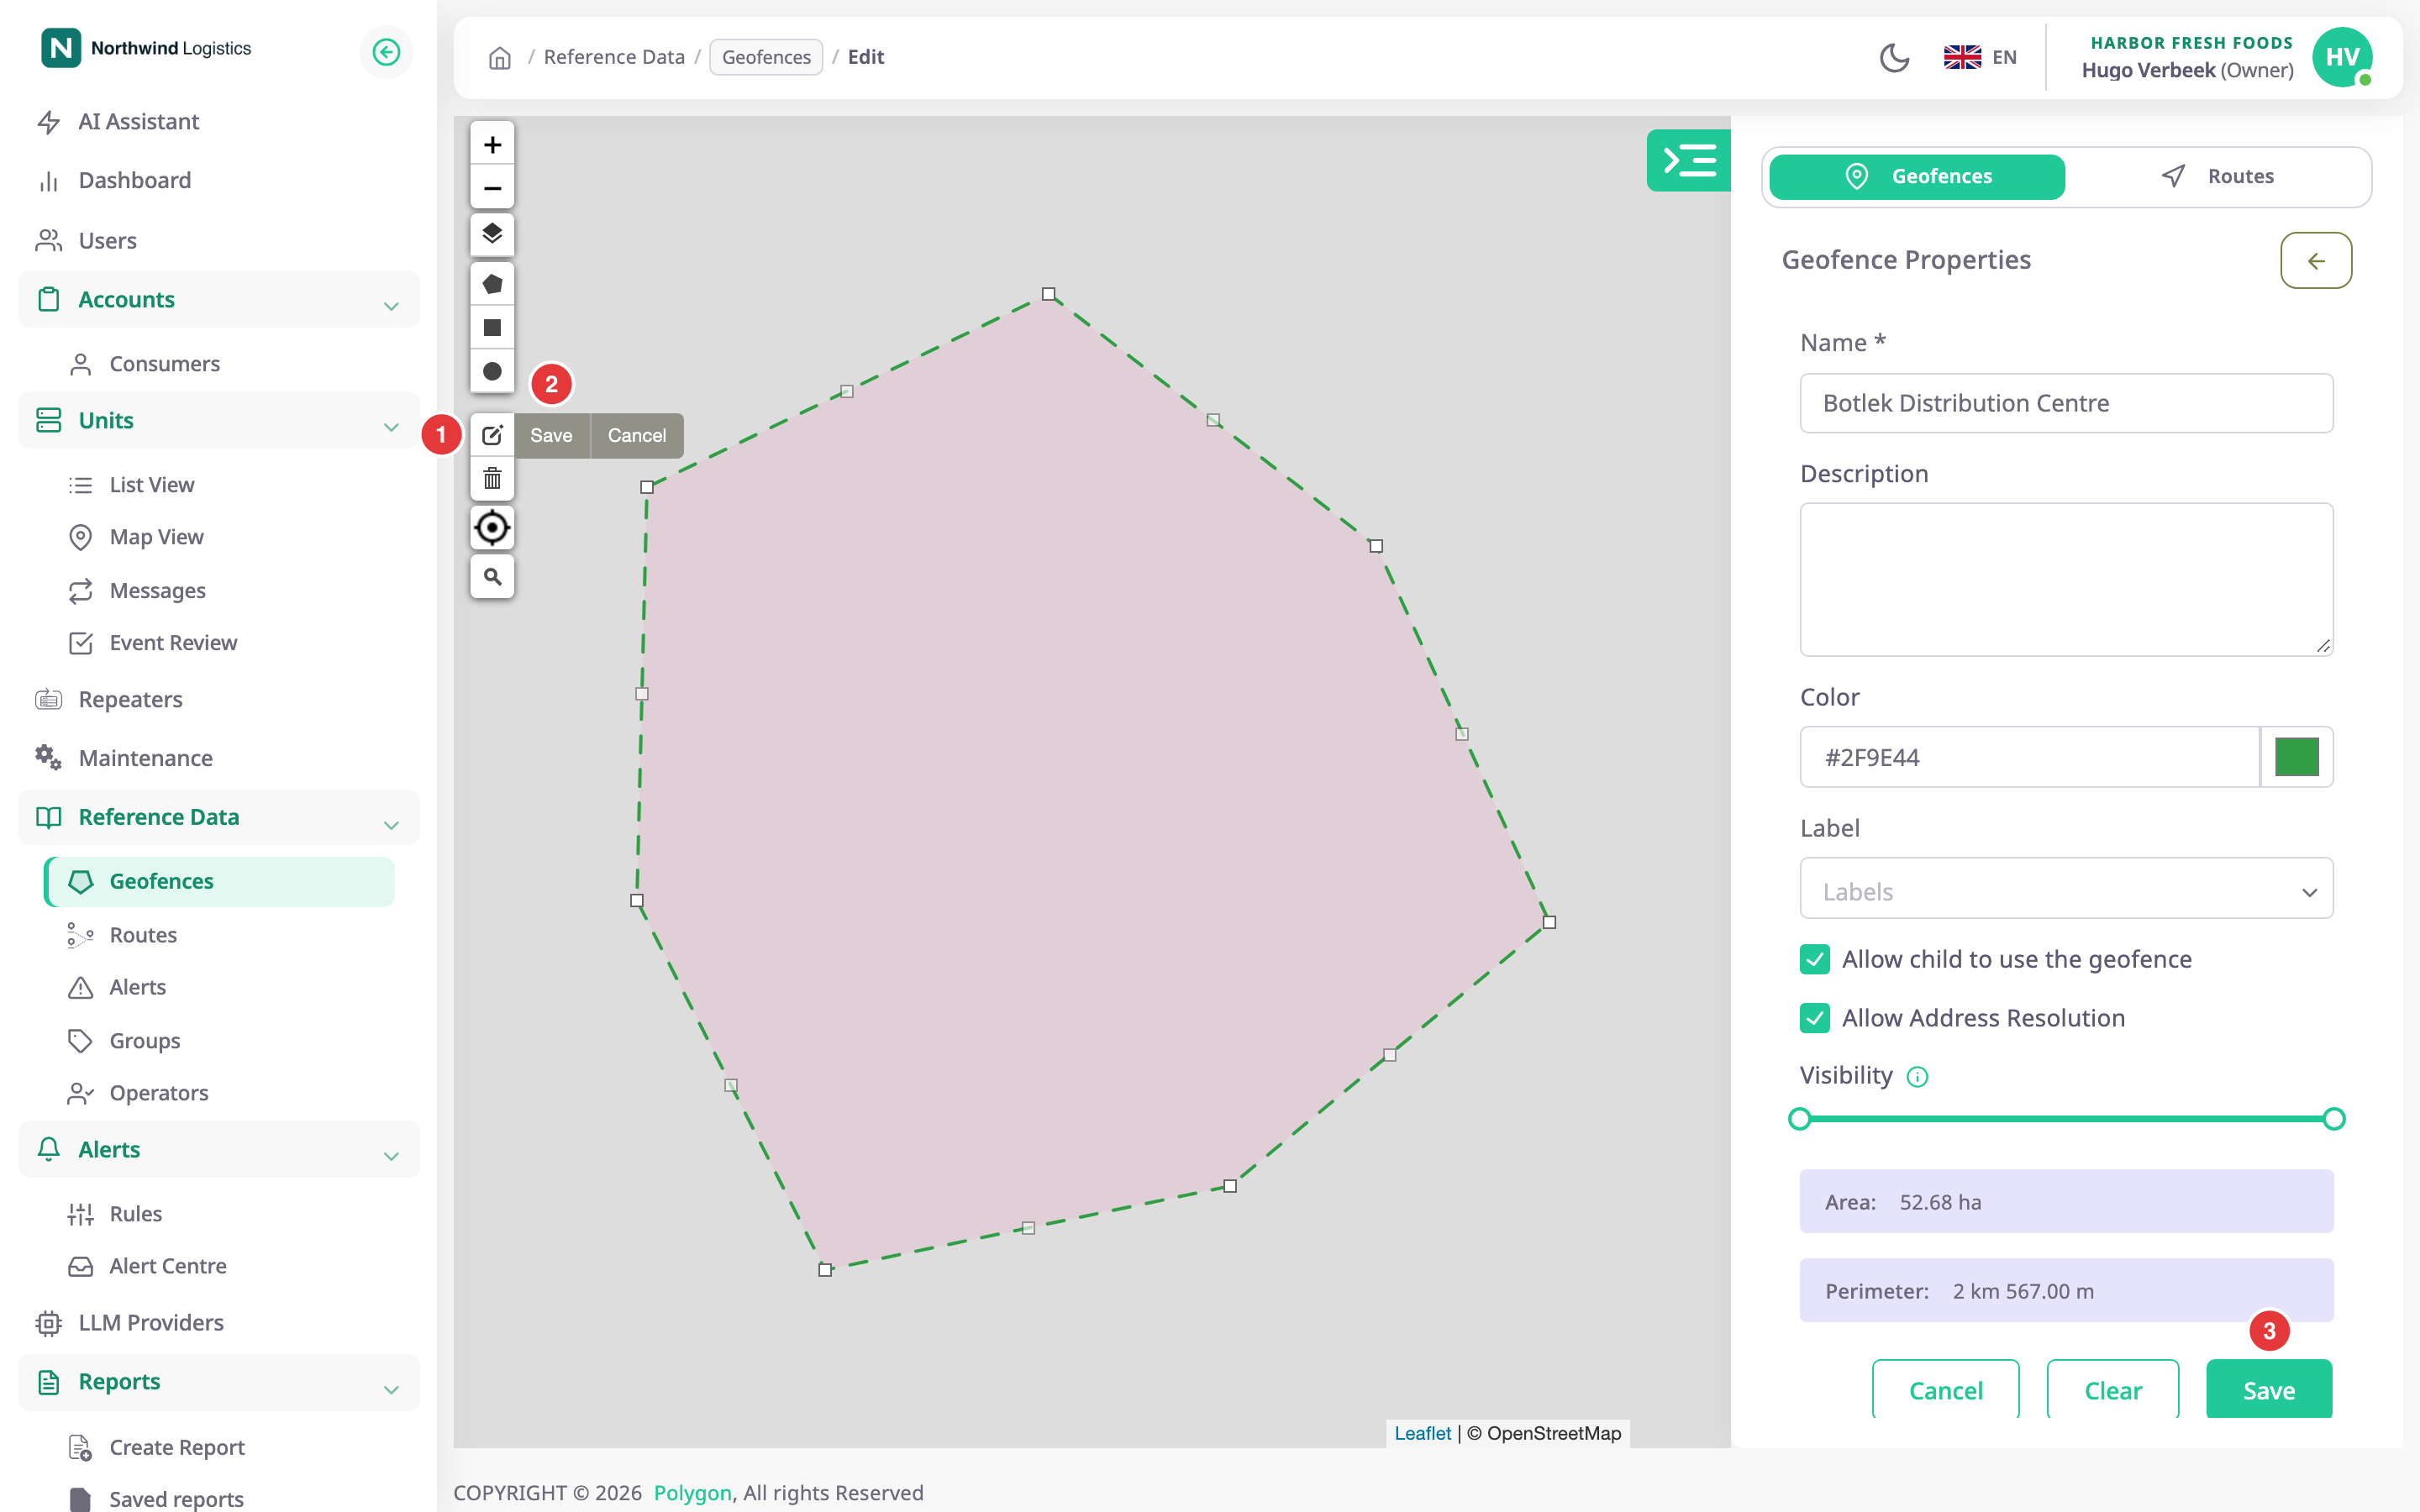
A rectangle you edit becomes a polygon when you save it. To replace the shape entirely, select Redraw.
¶ Large shapes
A shape with more than 500 corners opens with its corners locked, and the form reads Large shape with the corner count. Select Edit corners to unlock them. When too many corners are in view, the hint asks you to zoom in. Select Done editing to lock them again.
¶ Change the details and sharing
Open the same form and change any field, such as Name, Color, Label or Visible on the map. Select Save geofence to keep the changes. Turning off Share with child accounts takes the geofence away from the accounts below yours. See the Geofence form.
To undo your changes before you save, select Reset.
¶ Clone a geofence
- In the geofence's row, open the row menu and choose Clone.
The New geofence form opens with the shape and settings of the original. The name has " copy" added. - In Name, enter a new name. Names must be unique in your account.
- Optional: change the shape or any option.
- Select Save geofence.
The clone appears in the list.
¶ What happens next
Alert rules, route checkpoints and reports that use the geofence pick up the new shape. Past data is not recalculated by this change.