White labelling lets an account show its own accent colour, its own logos in the side menu and its own default language. A dealer can brand its customers' accounts, and allow them to brand their own.
¶ Before you start
- The account above yours must allow your account to white-label. Otherwise the branding fields do not show anywhere.
- To change a child account you need Update Dealer Accounts or Update Consumer Accounts. To brand your own account you need the same permission for Account Settings. The built-in Owner role has them.
- Have four logo files ready, PNG or JPG, under 2 MB each. You need a wide logo for the open menu and a square one for the closed menu, each in a light and a dark version.
¶ Allow white labelling for a child account
-
Open the child account's edit form: select Edit on its row in Accounts > Dealers or Accounts > Consumers.
-
Select the Permissions tab.
-
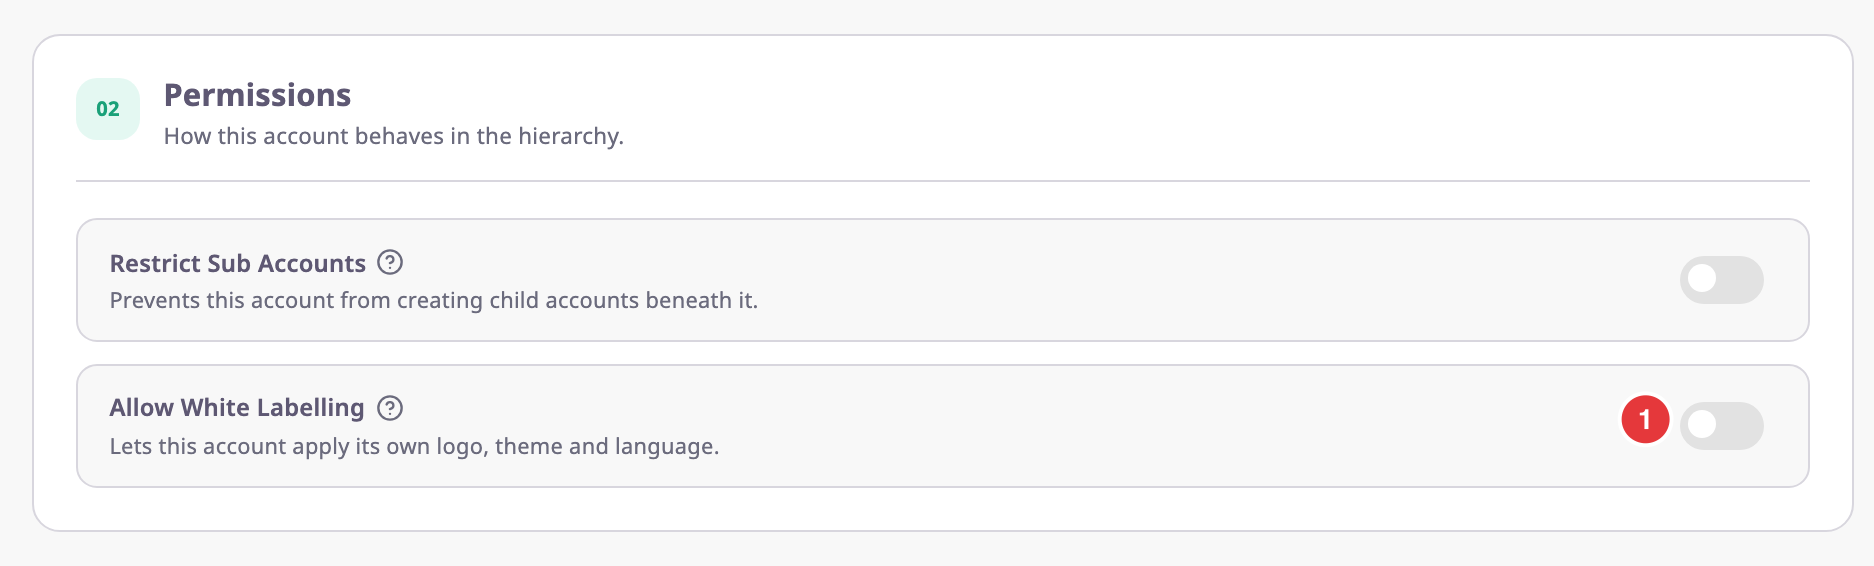
Turn on Allow White Labelling, marked 1.
-
Select Update.
The app shows "Account Update Successfully".
The child account's owner can now brand their own account, and allow the same for accounts below theirs. You can also set the branding for them, as below.
¶ Choose the theme
-
On the same edit form, select the Branding tab.
-
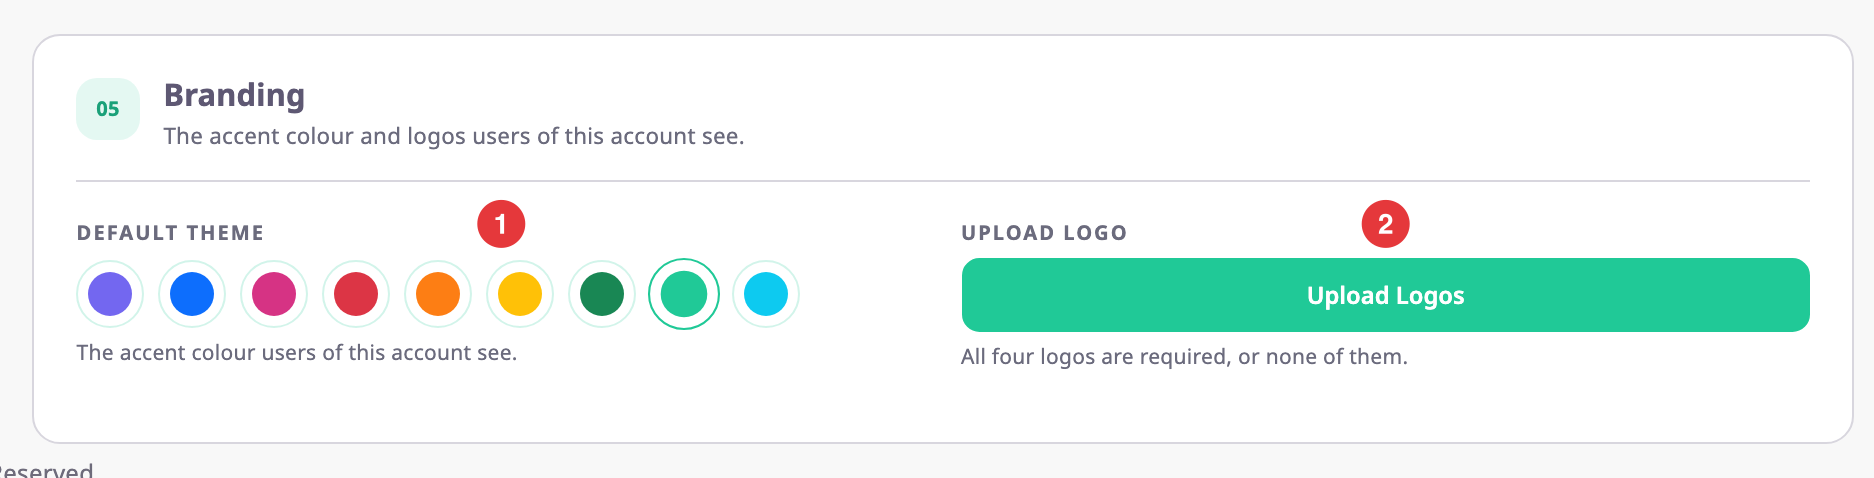
In Default Theme, marked 1, select a colour: Purple, Blue, Pink, Red, Orange, Yellow, Green, Teal or Cyan.
A ring marks the chosen colour.
¶ Upload the four logos
-
Select Upload Logos, marked 2, or one of the four logo slots above it.
The Upload Photos dialog opens.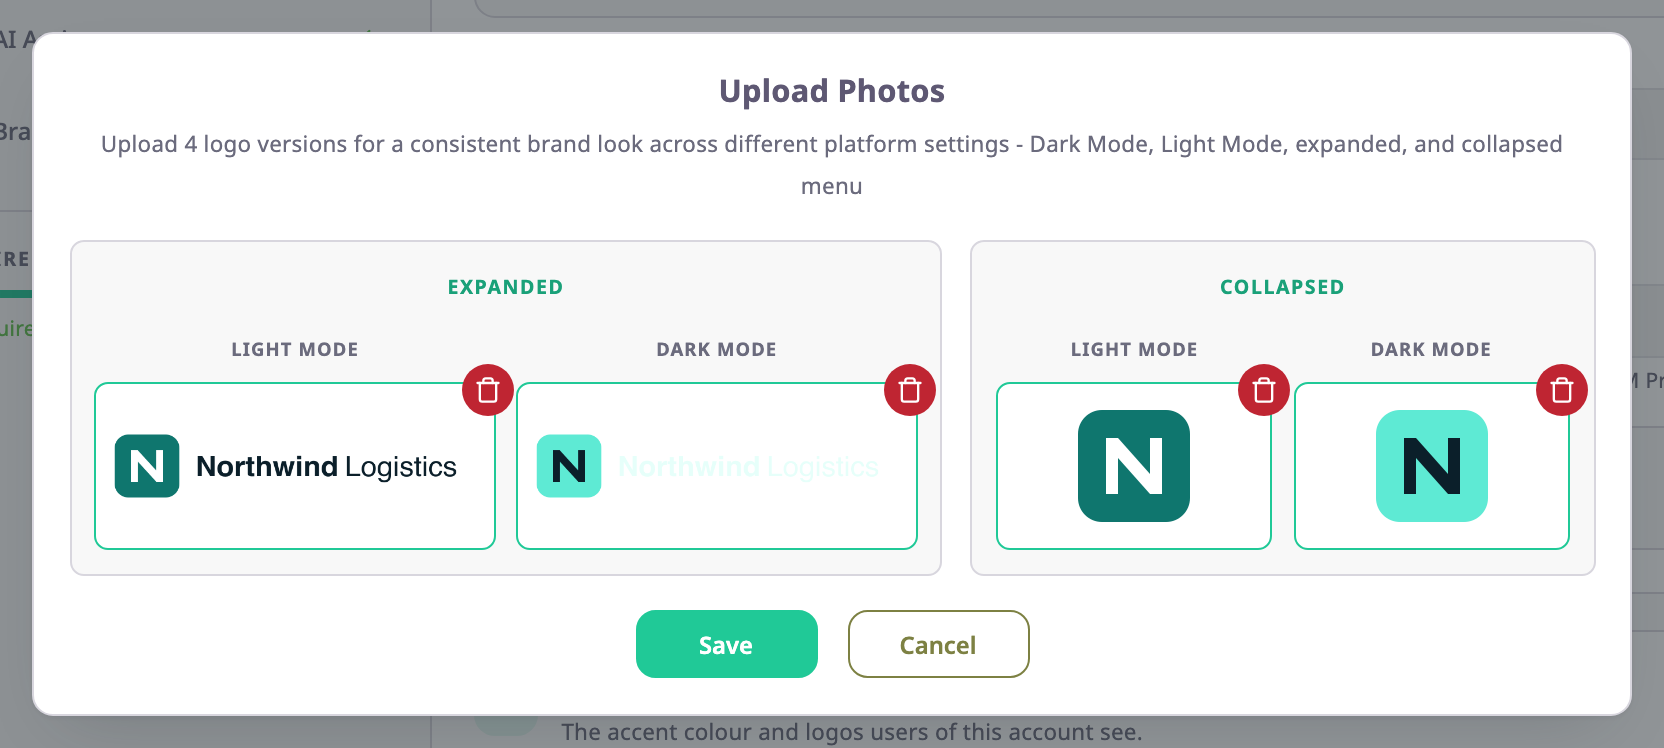
-
In each of the four slots, choose a file.
A crop box opens: wide for the expanded logos, square for the collapsed ones. -
Drag the crop box over the logo and select Crop.
-
When all four slots hold a logo, select Save.
The slots on the form now show the four logos and "4 of 4 uploaded". You must upload all four logos or none. While only some are there, Update stays unavailable. Remove all clears the four logos.
¶ Set the default language and measurement system
- Select the Formats and display tab.
- In Default Language, choose the language users of the account see until they pick their own.
- Optional: in Measurement System, choose the account's units. See Set the date, time and unit formats.
- Select Update.
The app shows "Account Update Successfully".
¶ What users of the account see
The next time a user of the account signs in or switches to it, the app uses the account's accent colour and logos. An account without its own logos shows the logos of the account above it. Users who chose a language keep it; the default language applies to users who have not chosen one.